Let's get your machine working
Dyson Pure Humidify+Cool™ PH01 (White/Silver)
Let's get your machine working
Dyson Pure Humidify+Cool™ PH01 (White/Silver)
-
-
Replacing the remote control battery
-
Issue resolved
-
More help required
-
Troubleshooting
-
Unusual noise
-
Grating or grinding noise
-
Issue resolved
-
Issue not resolved, please speak to our Customer Support Team
-
Humming noise when turned off
-
Trickling or gurgling noise
-
Issue not resolved, please speak to our Customer Support Team
-
Deep cleaning your machine
-
Issue not resolved, please speak to our Customer Support Team
-
Whining or whistling noise
-
Cleaning
-
Performance
-
Air direction mode not working
-
Airspeed
-
Airspeed not as powerful
-
The airspeed won't change
-
Test the other remote buttons
-
The other buttons on the remote are working
-
Check your app
-
Issue not resolved, please speak to our Customer Support Team
-
Issue not resolved, please speak to our Customer Support Team
-
Changing the battery
-
Machine not completing deep cleaning procedure
-
Software needs updating
-
Software up to date
-
Software information
-
Software up to date
-
Humidity
-
The machine has stopped humidifying
-
Display showing an alert
-
Triangle alert icon
-
Continuous alert triangle
-
Continuous alert triangle deep clean
-
Triangle alert icon
-
Temporary alert triangle
-
Triangle alert icon not oscillating
-
Power cycle
-
Triangle alert icon
-
Oscillation
-
Wrong PSU warning
-
Using PSU supplied
-
Issue not resolved, please speak to our Customer Support Team
-
Occurrence question
-
Issue not resolved, please speak to our Customer Support Team
-
Broken pump column
-
Issue not resolved, please speak to our Customer Support Team
-
Drip tray overflow
-
Deep cleaning your machine
-
Deep clean cycle - step-by-step
-
Pump rotor failure
-
Deep cleaning your machine
-
Deep clean cycle - step-by-step
-
Tank empty
-
Tank missing
-
Tank missing
-
Issue not resolved, please speak to our Customer Support Team
-
Tank missing
-
Tank missing
-
Too cold
-
Updating screen
-
More help required
-
Filling the water tank
-
Deep cleaning your machine
-
Looking after your machine
-
What do the icons on the display mean?
-
Dyson Link app connection icons
-
Dyson Link app update icons
-
Triangle alert icon
-
Information menu icons
-
Other display icons
-
Changing your filters
-
Knowing your machine
-
Continuous monitoring
-
Knowing the remote control
-
Not reaching target humidity
-
Deep cleaning your machine
-
Deep clean cycle - step-by-step
-
Issue not resolved, please speak to our Customer Support Team
-
No visible mist
-
The water level is not changing
-
Auto mode
-
Test Manual mode
-
The water level is not changing
-
Manual mode
-
Oscillation from oscillators
-
The machine's oscillators won't oscillate
-
Test the other remote buttons
-
The other buttons on the remote are working
-
Check your app
-
Changing the battery
-
The oscillation of the oscillators won't turn off
-
Test the other remote buttons
-
Purification
-
The machine has stopped purifying whilst in Auto mode
-
My readings are showing in different colours
-
Power or electrical issue
-
Machine starts operating on its own
-
Lighting issues
-
Lighting issues
-
Unplug the machine
-
The machine cut out in use
-
No power to machine
-
Issue not resolved, please speak to our Customer Support Team
-
Issue not resolved, please speak to our Customer Support Team
-
Power to machine
-
Which alert is shown
-
Wrong PSU warning
-
Issue not resolved, please speak to our Customer Support Team
-
Using PSU supplied
-
Occurrence question
-
Issue not resolved, please speak to our Customer Support Team
-
Issue not resolved, please speak to our Customer Support Team
-
Drip tray overflow
-
Deep cleaning your machine
-
Tank empty
-
Tank missing
-
Issue not resolved, please speak to our Customer Support Team
-
Issue not resolved, please speak to our Customer Support Team
-
Tank missing
-
Too cold
-
Updating screen
-
Triangle alert icon
-
Continuous alert triangle
-
Continuous alert triangle deep clean
-
Triangle alert icon
-
Temporary alert triangle
-
Triangle alert icon not oscillating
-
Power cycle
-
Triangle alert icon
-
Oscillation from oscillators
-
Intermittent power
-
No power to machine
-
Press the button
-
Check the remote
-
Changing the battery
-
Test the other remote buttons
-
The other buttons on the remote are working
-
Issue resolved
-
Check your app
-
Unusual smell
-
Burning
-
Dusty
-
Deep clean
-
Visible issue
-
Algae is growing inside the tank
-
Deep cleaning your machine
-
Issue not resolved, please speak to our Customer Support Team
-
The countdown stops during the deep clean cycle
-
There is an issue with the display
-
There is an issue with the display
-
Move the machine
-
No Display
-
Night mode is not working
-
Dust from the filter
-
Remote control doesn't work
-
Test the other remote buttons
-
The other buttons on the remote are working
-
Check your app
-
Changing the battery
-
Display showing an alert
-
Broken pump column
-
Issue not resolved, please speak to our Customer Support Team
-
Evaporator full
-
Pump rotor failure
-
Issue not resolved, please speak to our Customer Support Team
-
Tank empty
-
Tank missing
-
Part broken
-
Replacement part required
-
Replacement part required
-
Replacement part required
-
Replacement part required
-
Replacement part required
-
Replacement part required
-
Replacement part required
-
Replacement part required
-
Replacement part required
-
Looking after your machine
-
Filling the water tank
-
What do the icons on the display mean?
-
Triangle alert icon
-
Drip tray overflow
-
Deep cleaning your machine
-
Wrong PSU warning
-
Tank empty
-
Tank missing
-
Too cold
-
We're glad the problem's been solved.
Please let us know if there's anything else we can help you with.
We're glad the problem's been solved.
Please let us know if there's anything else we can help you with.
Apologies. We can't help you online.
But our Customer Support Team will be able to solve your problem. Call us on 1-877-397-6622
Apologies. We can’t help you online.
But our Customer Support Team will be able to solve your problem.
Call us on 1-877-397-6622
Apologies. We can’t help you online.
But our Customer Support Team will be able to solve your problem.
Call us on 1-877-397-6622
You might need to arrange a visit from a Dyson expert.
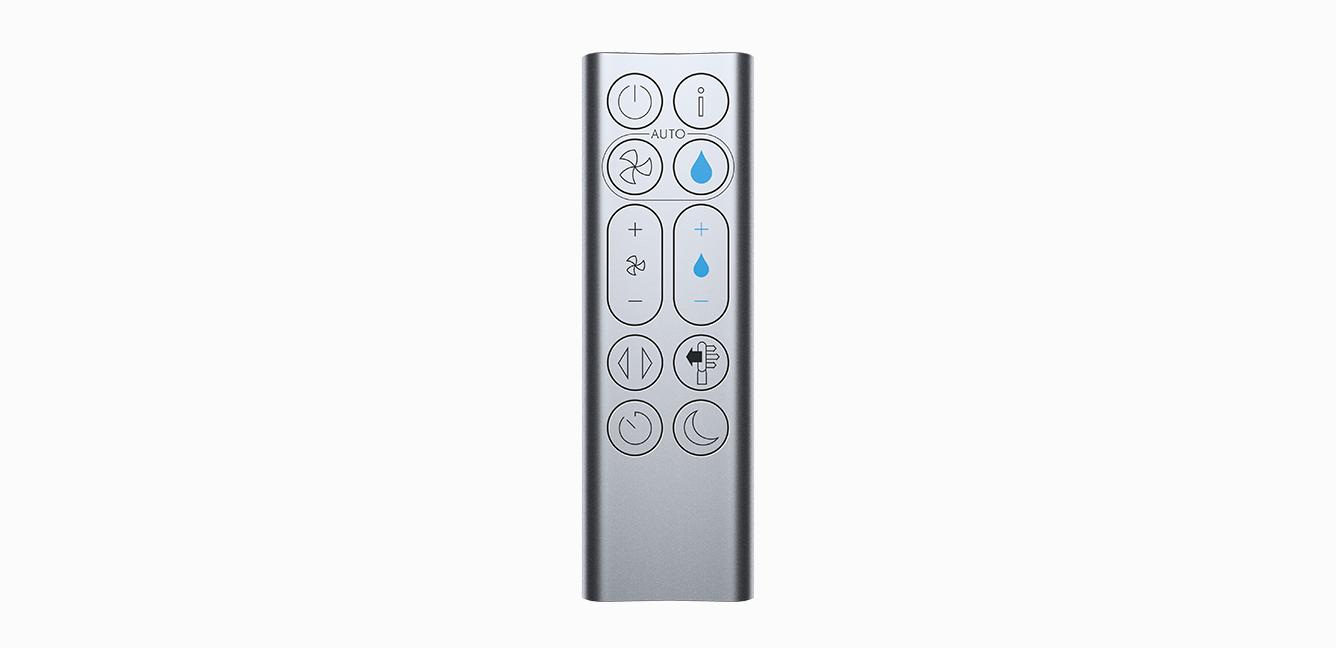
It looks like the Remote control isn't working. A new one will need to be replaced by a Dyson Expert.
Please contact us. Our helpline will be able to arrange an appointment for you.
Remote control
Part no. 970486-01
Replacement remote control for your Dyson purifier humidifier.
$39.99
Remote control
Part no. 970486-01
Replacement remote control for your Dyson purifier humidifier.
$39.99
Apologies. We can’t help you online.
But our Customer Support Team will be able to solve your problem.
Call us on 1-877-397-6622
Apologies. We can't help you online.
But our Customer Support Team will be able to solve your problem. Call us on 1-877-397-6622
Apologies. We can't help you online.
But our Customer Support Team will be able to solve your problem. Call us on 1-877-397-6622
Apologies. We can't help you online.
But our Customer Support Team will be able to solve your problem. Call us on 1-877-397-6622
Apologies. We can't help you online.
But our Customer Support Team will be able to solve your problem. Call us on 1-877-397-6622
Apologies. We can’t help you online.
But our Customer Support Team will be able to solve your problem.
Call us on 1-877-397-6622
You might need a replacement part.
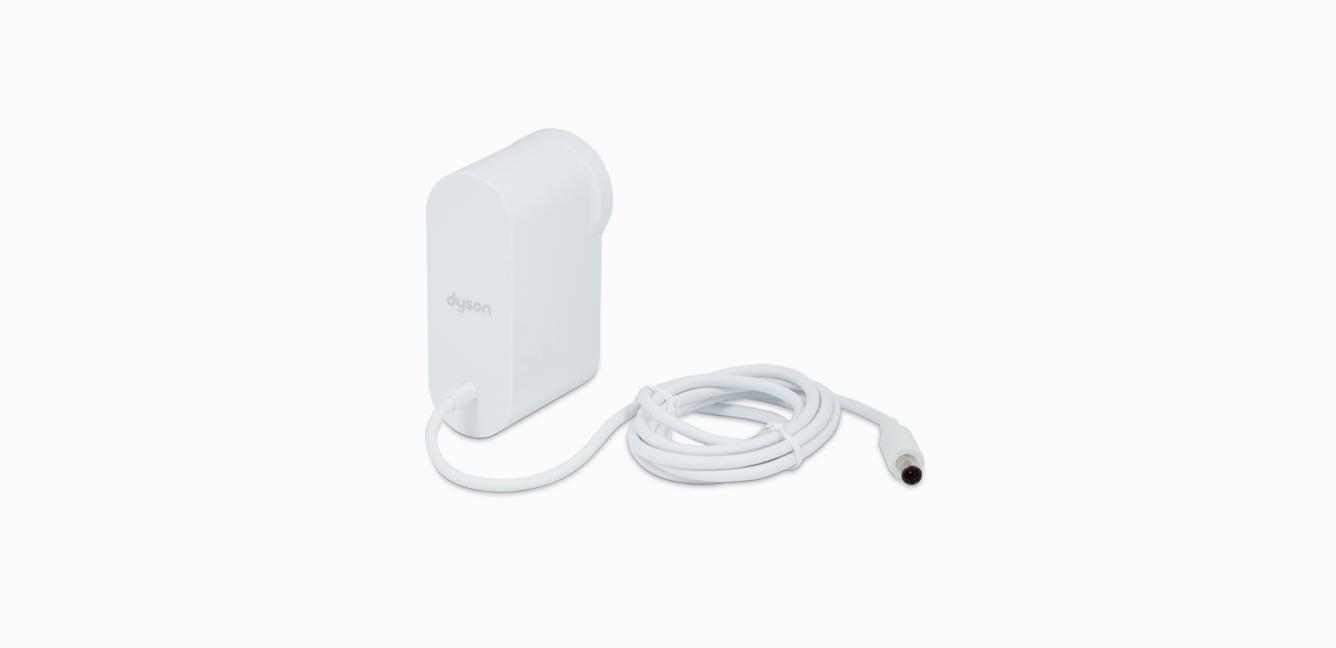
It looks like the Power supply is not working. You can solve this by ordering a new one below.
Power supply
Part no. 970484-06
Replacement power supply for your Dyson purifier humidifier fan.
$83.99
Power supply
Part no. 970484-06
Replacement power supply for your Dyson purifier humidifier fan.
$83.99
$83.99
You might need a replacement part.
It looks like the Power supply is not working. You can solve this by ordering a new one below.
Power supply
Part no. 970484-06
Replacement power supply for your Dyson purifier humidifier fan.
$83.99
Power supply
Part no. 970484-06
Replacement power supply for your Dyson purifier humidifier fan.
$83.99
$83.99
Apologies. We can’t help you online.
But our Customer Support Team will be able to solve your problem.
Call us on 1-877-397-6622
You might need a replacement part.
It looks like the Power supply is not working. You can solve this by ordering a new one below.
Power supply
Part no. 970484-06
Replacement power supply for your Dyson purifier humidifier fan.
$83.99
Power supply
Part no. 970484-06
Replacement power supply for your Dyson purifier humidifier fan.
$83.99
$83.99
Apologies. We can’t help you online.
But our Customer Support Team will be able to solve your problem.
Call us on 1-877-397-6622
Apologies. We can’t help you online.
But our Customer Support Team will be able to solve your problem.
Call us on 1-877-397-6622
Apologies. We can’t help you online.
But our Customer Support Team will be able to solve your problem.
Call us on 1-877-397-6622
We're glad the problem's been solved.
Please let us know if there's anything else we can help you with.
Apologies. We can't help you online.
But our Customer Support Team will be able to solve your problem. Call us on 1-877-397-6622
You might need a replacement part.
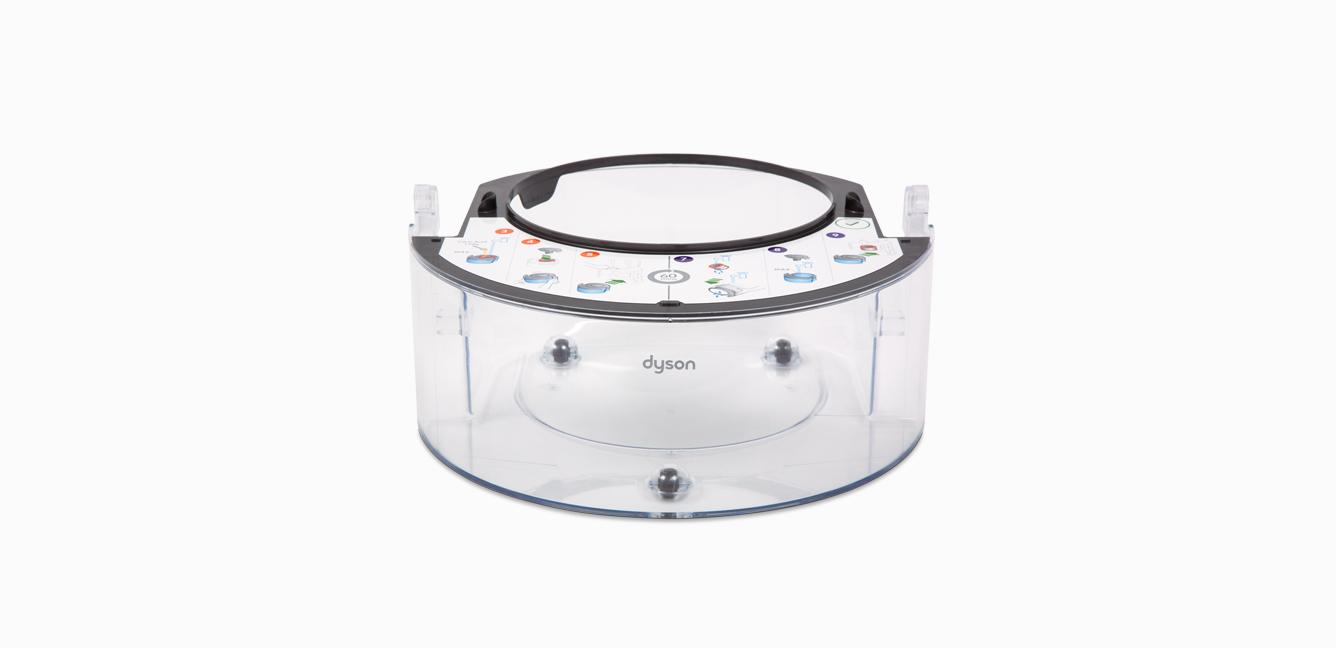
It looks like the Water tank is not working. You can solve this by ordering a new one below.
Water tank
Part no. 965317-01
Replacement water tank for your Dyson purifier humidifier fan.
$142.99
Water tank
Part no. 965317-01
Replacement water tank for your Dyson purifier humidifier fan.
$142.99
$142.99
Apologies. We can’t help you online.
But our Customer Support Team will be able to solve your problem.
Call us on 1-877-397-6622
Apologies. We can't help you online.
But our Customer Support Team will be able to solve your problem. Call us on 1-877-397-6622
Apologies. We can’t help you online.
But our Customer Support Team will be able to solve your problem.
Call us on 1-877-397-6622
You might need a replacement part.
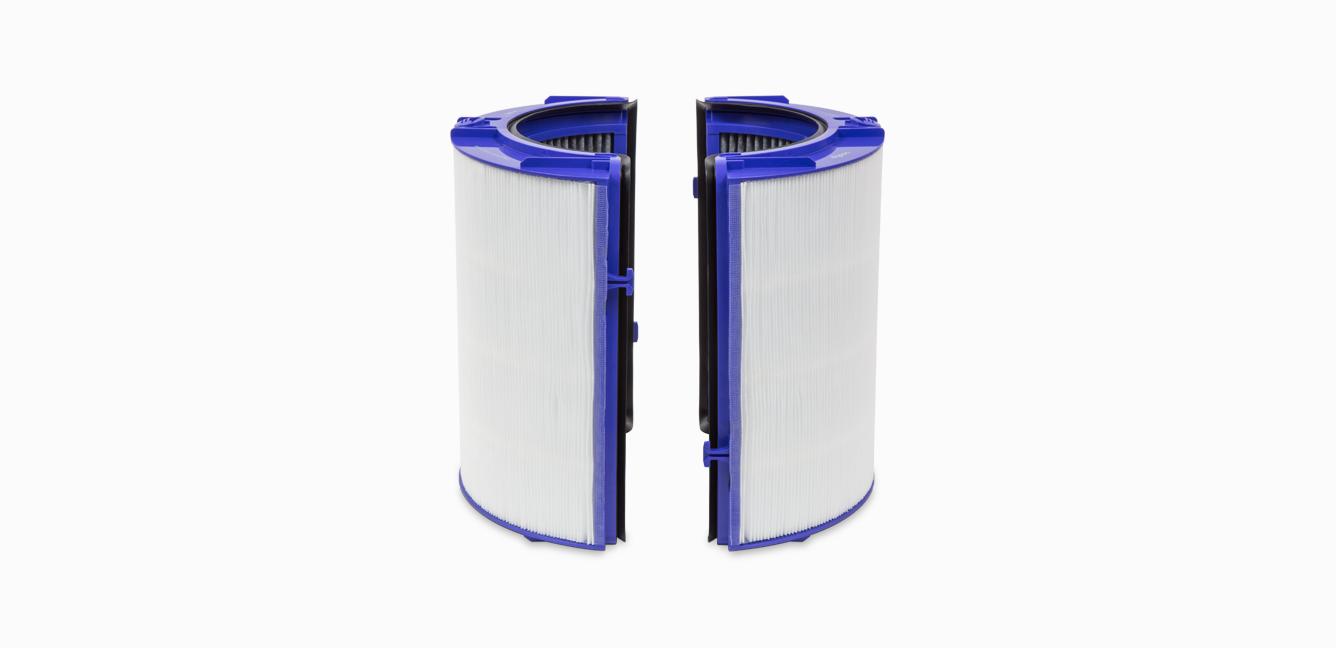
It looks like the Combi 360° Glass HEPA and Activated Carbon Filter is not working. You can solve this by ordering a new one below.
Combi 360° Glass HEPA and Activated Carbon Filter
Part no. 970341-01
Replacement glass hepa & inner carbon filter for your Dyson purifier humidifier fan.
$99.99
Combi 360° Glass HEPA and Activated Carbon Filter
Part no. 970341-01
Replacement glass hepa & inner carbon filter for your Dyson purifier humidifier fan.
$99.99
You might need to arrange a visit from a Dyson expert.
It looks like the Evaporator isn't working. A new one will need to be replaced by a Dyson Expert.
Please contact us. Our helpline will be able to arrange an appointment for you.
Evaporator
Part no. 970718-01
Replacement evaporator for your Dyson purifier humidifier fan.
$39.99

Evaporator
Part no. 970718-01
Replacement evaporator for your Dyson purifier humidifier fan.
$39.99
Apologies. We can’t help you online.
But our Customer Support Team will be able to solve your problem.
Call us on 1-877-397-6622
Apologies. We can’t help you online.
But our Customer Support Team will be able to solve your problem.
Call us on 1-877-397-6622
You might need a replacement part.
It looks like the Power supply is not working. You can solve this by ordering a new one below.
Power supply
Part no. 970484-06
Replacement power supply for your Dyson purifier humidifier fan.
$83.99
Power supply
Part no. 970484-06
Replacement power supply for your Dyson purifier humidifier fan.
$83.99
$83.99
You might need to arrange a visit from a Dyson expert.
It looks like the Remote control isn't working. A new one will need to be replaced by a Dyson Expert.
Please contact us. Our helpline will be able to arrange an appointment for you.
Remote control
Part no. 970486-01
Replacement remote control for your Dyson purifier humidifier.
$39.99
Remote control
Part no. 970486-01
Replacement remote control for your Dyson purifier humidifier.
$39.99
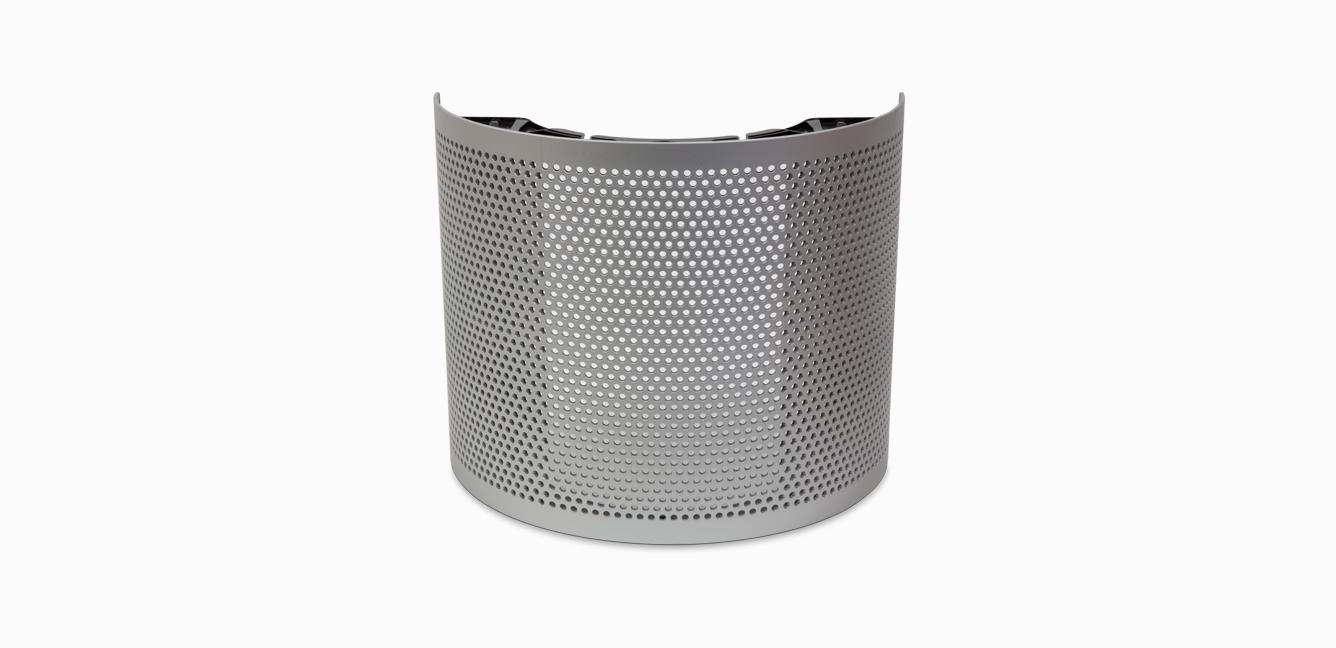
You might need to arrange a visit from a Dyson expert.
It looks like the Filter housing isn't working. A new one will need to be replaced by a Dyson Expert.
Please contact us. Our helpline will be able to arrange an appointment for you.
Filter housing
Part no. 970482-01
Replacement filter housing for your Dyson purifier humidifier fan.
$39.99
Filter housing
Part no. 970482-01
Replacement filter housing for your Dyson purifier humidifier fan.
$39.99
You might need a replacement part.
It looks like the Water tank is not working. You can solve this by ordering a new one below.
Water tank
Part no. 965317-01
Replacement water tank for your Dyson purifier humidifier fan.
$142.99
Water tank
Part no. 965317-01
Replacement water tank for your Dyson purifier humidifier fan.
$142.99
$142.99
Further help
Dyson Pure Humidify+Cool™ PH01 (White/Silver)