
Let's get your machine working
Dyson V6™️ Absolute
-
DC59/V6 Range
-
Charging the battery
-
Troubleshooting
-
Using your Dyson machine
-
How to attach the accessories
-
No further assistance required
-
Quick start guide
-
Where is the serial number located?
-
User guide
-
Troubleshooting
-
Pick up issue
-
Filter has been washed, machine is still pulsating
-
Issue resolved
-
Replacement part required
-
Pick up issues
-
Check for blockages within the Direct drive cleaner head
-
Checking for blockages - Wand
-
Checking for blockages - Bin
-
Checking for blockages - Remove the bin
-
Checking for blockages - Washing the filters
-
Issue not resolved, please speak to our Customer Support Team
-
Washing the filters
-
Confirm the filter has been washed
-
Check for blockages within the Hard floor tool
-
Checking for blockages - Wand
-
Checking for blockages - Bin
-
Checking for blockages - Remove the bin
-
Checking for blockages - Washing the filters
-
Washing the filters
-
Confirm the filter has been washed
-
Replacement part required
-
Check for blockages within the Mini motorised head
-
Replacement part required
-
Check for blockages within the Soft roller cleaner head
-
Machine is pulsating
-
Machine pulsates with the bin open
-
Machine pulsates with the bin removed
-
Machine pulsates with pre-filter removed
-
Machine only pulsates with the filters in
-
Issue not resolved, please speak to our Customer Support Team
-
Machine doesn't pulsate without the bin
-
Replacement part required
-
Pick up issue
-
Replacement part required
-
Check the Wand
-
Check the Cleaner head
-
Check for blockages within the Direct drive cleaner head
-
Check for blockages within the Motorhead
-
Check for blockages within the Soft roller cleaner head
-
Check for blockages within the Mini motorised head
-
Power or electrical issue
-
Machine will not turn on
-
Amber light
-
Amber light still showing
-
Replacement part required
-
Machine is now working
-
Blue flashing light
-
Replacement part required
-
Machine is now charging
-
Replacement part required
-
No light when charging
-
Replacement part required
-
Replacement part required
-
Issue not resolved, please speak to our Customer Support Team
-
MAX power button flashes
-
7 or 8 times
-
10 times
-
Issue not resolved, please speak to our Customer Support Team
-
No light
-
No lights or power
-
Light is showing on the machine
-
Replacement part required
-
Replacement part required
-
Red flashing light
-
Less than 12
-
More than 12 red flashes
-
Solid blue light
-
Replacement part required
-
Run time
-
Issue not resolved, please speak to our Customer Support Team
-
Unusual noise
-
Grating or grinding noise
-
Replacement part required
-
Machine is still making a grating or grinding noise
-
Check for blockages within the Hard floor tool
-
Issue resolved
-
Check for blockages within the Direct drive cleaner head
-
Replacement part required
-
Check for blockages within the Motorhead
-
Replacement part required
-
Check for blockages within the Soft roller cleaner head
-
Replacement part required
-
Check for blockages within the Mini motorised head
-
Replacement part required
-
Unusual smell
-
Damp or musty smell
-
Steps to help remove the smell
-
Washing the filters
-
Replacement part required
-
Issue not resolved, please speak to our Customer Support Team
-
Visible issue
-
MAX power button does not work
-
Replacement part required
-
Brush bar not spinning/spinning intermittently
-
The Brush bar does not spin on any head
-
Replacement part required
-
Replacement part required
-
Mini motorised head
-
Check the electrical contacts
-
Direct drive cleaner head
-
Check the electrical contacts
-
Soft roller cleaner head
-
Check the electrical contacts
-
Bin inlet jamming
-
The bin is damaged
-
Issue resolved
-
Part broken
-
Replacement part required
-
Replacement part required
-
Replacement part required
-
Replacement part required
-
Replacement part required
-
Replacement part required
-
Replacement part required
-
Replacement part required
-
Issue not resolved, please speak to our Customer Support Team
-
Replacement part required
-
Replacement part required
-
Cleaning the bin and cyclone
-
Cleaning the floor tool
-
Check for blockages within the Direct drive cleaner head
-
Checking the Hard floor tool for blockages
-
Mini motorised head
-
Motorhead
-
Check for blockages within the Soft roller cleaner head
-
Emptying the bin
-
Washing the filters - video
-
Most common topics
We're glad the problem's been solved.
Please let us know if there's anything else we can help you with.
We're glad the problem's been solved.
Please let us know if there's anything else we can help you with.
Apologies. We can’t help you online.
But our Customer Support Team will be able to solve your problem.
Call us on 1-877-397-6622
Apologies. We can’t help you online.
But our Customer Support Team will be able to solve your problem.
Call us on 1-877-397-6622
You might need a replacement part.
It looks like the Bin is not working. You can solve this by ordering a new one below.
Bin
Part no. 966709-01
Replacement bin for your Dyson vacuum cleaner.
$32.99

Bin
Part no. 966709-01
Replacement bin for your Dyson vacuum cleaner.
$32.99
How to install this part
You might need a replacement part.
It looks like the Mini Motorhead is not working. You can solve this by ordering a new one below.
Mini Motorhead
Part no. 966086-01
Replacement mini Motorhead for your Dyson vacuum cleaner.
$56.99

Mini Motorhead
Part no. 966086-01
Replacement mini Motorhead for your Dyson vacuum cleaner.
$56.99
Apologies. We can’t help you online.
But our Customer Support Team will be able to solve your problem.
Call us on 1-877-397-6622
You might need a replacement part.
It looks like the Bin is not working. You can solve this by ordering a new one below.
Bin
Part no. 966709-01
Replacement bin for your Dyson vacuum cleaner.
$32.99
Bin
Part no. 966709-01
Replacement bin for your Dyson vacuum cleaner.
$32.99
How to install this part
You might need a replacement part.
It looks like the Bin is not working. You can solve this by ordering a new one below.
Bin
Part no. 966709-01
Replacement bin for your Dyson vacuum cleaner.
$32.99
Bin
Part no. 966709-01
Replacement bin for your Dyson vacuum cleaner.
$32.99
How to install this part
You might need a replacement part.
It looks like the Battery is not working. You can solve this by ordering a new one below.
Battery
Part no. 967810-23
Replacement power pack for your Dyson vacuum cleaner.
$142.99

Battery
Part no. 967810-23
Replacement power pack for your Dyson vacuum cleaner.
$142.99
$142.99
We're glad the problem's been solved.
Please let us know if there's anything else we can help you with.
Apologies. We can’t help you online.
But our Customer Support Team will be able to solve your problem.
Call us on 1-877-397-6622
Apologies. We can’t help you online.
But our Customer Support Team will be able to solve your problem.
Call us on 1-877-397-6622
You might need a replacement part.
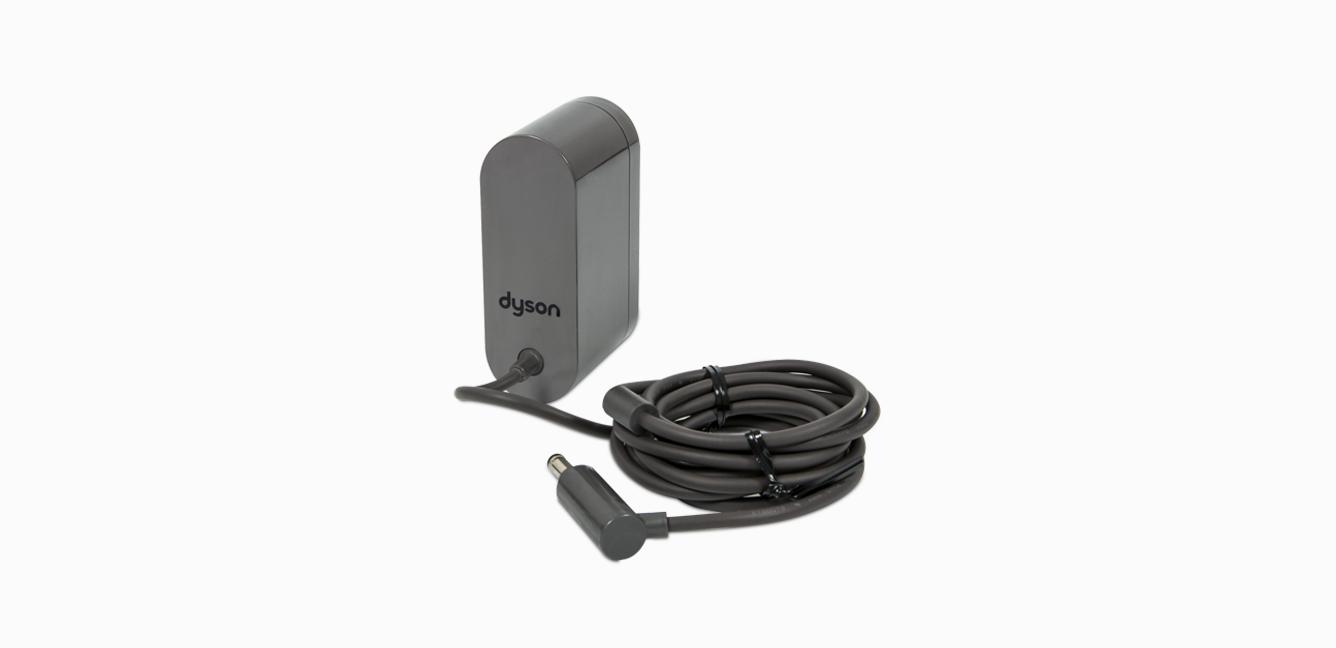
It looks like the Charger is not working. You can solve this by ordering a new one below.
Charger
Part no. 967813-02
Charges your vacuum with or without the Docking station
$32.99
Charger
Part no. 967813-02
Charges your vacuum with or without the Docking station
$32.99
Apologies. We can’t help you online.
But our Customer Support Team will be able to solve your problem.
Call us on 1-877-397-6622
Apologies. We can’t help you online.
But our Customer Support Team will be able to solve your problem.
Call us on 1-877-397-6622
Apologies. We can’t help you online.
But our Customer Support Team will be able to solve your problem.
Call us on 1-877-397-6622
You might need a replacement part.
It looks like the Battery is not working. You can solve this by ordering a new one below.
Battery
Part no. 967810-23
Replacement power pack for your Dyson vacuum cleaner.
$142.99
Battery
Part no. 967810-23
Replacement power pack for your Dyson vacuum cleaner.
$142.99
$142.99
You might need a replacement part.
It looks like the Charger is not working. You can solve this by ordering a new one below.
Charger
Part no. 967813-02
Charges your vacuum with or without the Docking station
$32.99
Charger
Part no. 967813-02
Charges your vacuum with or without the Docking station
$32.99
Apologies. We can’t help you online.
But our Customer Support Team will be able to solve your problem.
Call us on 1-877-397-6622
Apologies. We can’t help you online.
But our Customer Support Team will be able to solve your problem.
Call us on 1-877-397-6622
Apologies. We can’t help you online.
But our Customer Support Team will be able to solve your problem.
Call us on 1-877-397-6622
Apologies. We can’t help you online.
But our Customer Support Team will be able to solve your problem.
Call us on 1-877-397-6622
Apologies. We can't help you online.
But our Customer Support Team will be able to solve your problem. Call us on 1-877-397-6622
Apologies. We can't help you online.
But our Customer Support Team will be able to solve your problem. Call us on 1-877-397-6622
We're glad the problem's been solved.
Please let us know if there's anything else we can help you with.
Apologies. We can’t help you online.
But our Customer Support Team will be able to solve your problem.
Call us on 1-877-397-6622
You might need a replacement part.
It looks like the Motorhead is not working. You can solve this by ordering a new one below.
Motorhead
Part no. 966084-01
Replacement Motorhead for your Dyson vacuum cleaner.
$142.99

Motorhead
Part no. 966084-01
Replacement Motorhead for your Dyson vacuum cleaner.
$142.99
Apologies. We can’t help you online.
But our Customer Support Team will be able to solve your problem.
Call us on 1-877-397-6622
You might need a replacement part.
It looks like the Mini Motorhead is not working. You can solve this by ordering a new one below.
Mini Motorhead
Part no. 966086-01
Replacement mini Motorhead for your Dyson vacuum cleaner.
$56.99
Mini Motorhead
Part no. 966086-01
Replacement mini Motorhead for your Dyson vacuum cleaner.
$56.99
Apologies. We can’t help you online.
But our Customer Support Team will be able to solve your problem.
Call us on 1-877-397-6622
Apologies. We can’t help you online.
But our Customer Support Team will be able to solve your problem.
Call us on 1-877-397-6622
Apologies. We can’t help you online.
But our Customer Support Team will be able to solve your problem.
Call us on 1-877-397-6622
You might need a replacement part.
It looks like the Wand is not working. You can solve this by ordering a new one below.
Wand
Part no. 966493-05
Replacement wand for your Dyson vacuum cleaner.
$56.99

Wand
Part no. 966493-05
Replacement wand for your Dyson vacuum cleaner.
$56.99
$56.99
You might need a replacement part.
It looks like the Bin is not working. You can solve this by ordering a new one below.
Bin
Part no. 966709-01
Replacement bin for your Dyson vacuum cleaner.
$32.99
Bin
Part no. 966709-01
Replacement bin for your Dyson vacuum cleaner.
$32.99
How to install this part
We're glad the problem's been solved.
Please let us know if there's anything else we can help you with.
You might need a replacement part.
It looks like the Soft roller cleaner is not working. You can solve this by ordering a new one below.
Soft roller cleaner
Part no. 966489-01
Suck up fine dust and large debris from hard floors without changing heads. Compatible with Dyson V6 cordless vacuum.
$149.99

Soft roller cleaner
Part no. 966489-01
Suck up fine dust and large debris from hard floors without changing heads. Compatible with Dyson V6 cordless vacuum.
$149.99
You might need a replacement part.
It looks like the Bin is not working. You can solve this by ordering a new one below.
Bin
Part no. 966709-01
Replacement bin for your Dyson vacuum cleaner.
$32.99
Bin
Part no. 966709-01
Replacement bin for your Dyson vacuum cleaner.
$32.99
How to install this part
You might need a replacement part.
It looks like the Charger is not working. You can solve this by ordering a new one below.
Charger
Part no. 967813-02
Charges your vacuum with or without the Docking station
$32.99
Charger
Part no. 967813-02
Charges your vacuum with or without the Docking station
$32.99
You might need a replacement part.
It looks like the Combination tool is not working. You can solve this by ordering a new one below.
Combination tool
Part no. 914361-01
Two tools in one, for versatile cleaning around the home.
$20.99

Combination tool
Part no. 914361-01
Two tools in one, for versatile cleaning around the home.
$20.99
$20.99
You might need a replacement part.
It looks like the Crevice tool is not working. You can solve this by ordering a new one below.
Crevice tool
Part no. 965815-01
Replacement crevice tool for your Dyson vacuum cleaner.
$1.99

Crevice tool
Part no. 965815-01
Replacement crevice tool for your Dyson vacuum cleaner.
$1.99
$1.99
Apologies. We can’t help you online.
But our Customer Support Team will be able to solve your problem.
Call us on 1-877-397-6622
Apologies. We can’t help you online.
But our Customer Support Team will be able to solve your problem.
Call us on 1-877-397-6622
You might need a replacement part.
It looks like the Mini Motorhead is not working. You can solve this by ordering a new one below.
Mini Motorhead
Part no. 966086-01
Replacement mini Motorhead for your Dyson vacuum cleaner.
$56.99
Mini Motorhead
Part no. 966086-01
Replacement mini Motorhead for your Dyson vacuum cleaner.
$56.99
Apologies. We can’t help you online.
But our Customer Support Team will be able to solve your problem.
Call us on 1-877-397-6622
You might need a replacement part.
It looks like the Dyson vacuum pre-filter is not working. You can solve this by ordering a new one below.
Dyson vacuum pre-filter
Part no. 965661-01
Compatible with:
Dyson V8™ vacuums, with pinch pre-filter
Dyson V7™ vacuums
Dyson V6™ vacuums
$20.99

Dyson vacuum pre-filter
Part no. 965661-01
Compatible with:
Dyson V8™ vacuums, with pinch pre-filter
Dyson V7™ vacuums
Dyson V6™ vacuums
$20.99
$20.99
You might need a replacement part.
It looks like the Wand is not working. You can solve this by ordering a new one below.
Wand
Part no. 966493-05
Replacement wand for your Dyson vacuum cleaner.
$56.99
Wand
Part no. 966493-05
Replacement wand for your Dyson vacuum cleaner.
$56.99
$56.99
Further help
Dyson V6™️ Absolute